

A Renault Megane 3 stopped starting. According to the customer, this is already the third under-hood fuse block to have failed. During the initial diagnosis, there was no communication with the engine control unit. Numerous errors were also observed across most modules on the multiplex network, which indirectly indicated a problem with ECU power supply.
The first thing checked was the power at the engine ECU fuse located in the under-hood USM block — power was present.
At first glance the situation looks like a typical module failure, however in such cases it is important not simply to replace the unit, but to understand the root cause of the failure.
This article will cover all stages of diagnosis and repair in detail, and also show what can happen if the root cause of a fault is ignored.
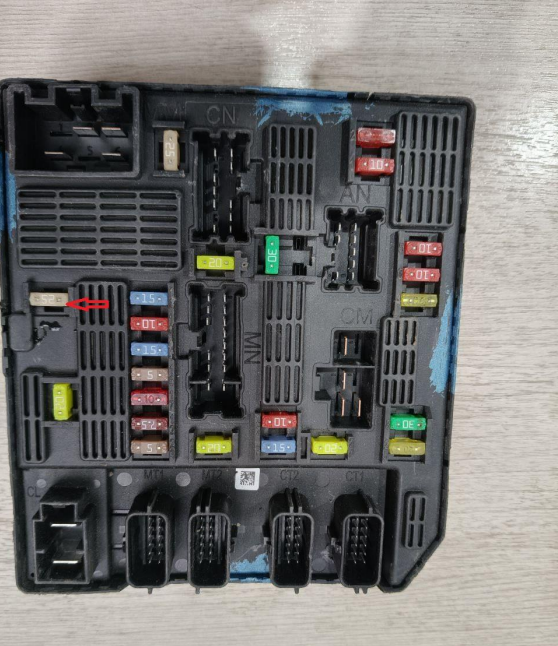
During the initial diagnosis, there was no communication with the engine control unit. Numerous errors were also observed across most modules on the multiplex network, which indirectly indicated a problem with ECU power supply.
The first thing checked was the power at the engine ECU fuse in the under-hood USM block — power was present.

A key point regarding compatibility is worth noting separately. USM blocks may be interchangeable, but they do not always work on a plug-and-play basis.
If a block with a different part number is installed — as in our case, a block from a Fluence — it will need to be configured for the specific vehicle. This requires Renault Clip or online configuration using third-party multi-brand equipment.

The next step was to check the power at pins CN6, MN2 and MN3, through which power is supplied to the engine ECU.
This is exactly where the main problem was found: voltage at these terminals was absent. That is, power is present at the block input, but it does not reach the ECU.
The fault logic in this case is obvious: no power — no communication with the control unit — no engine start.
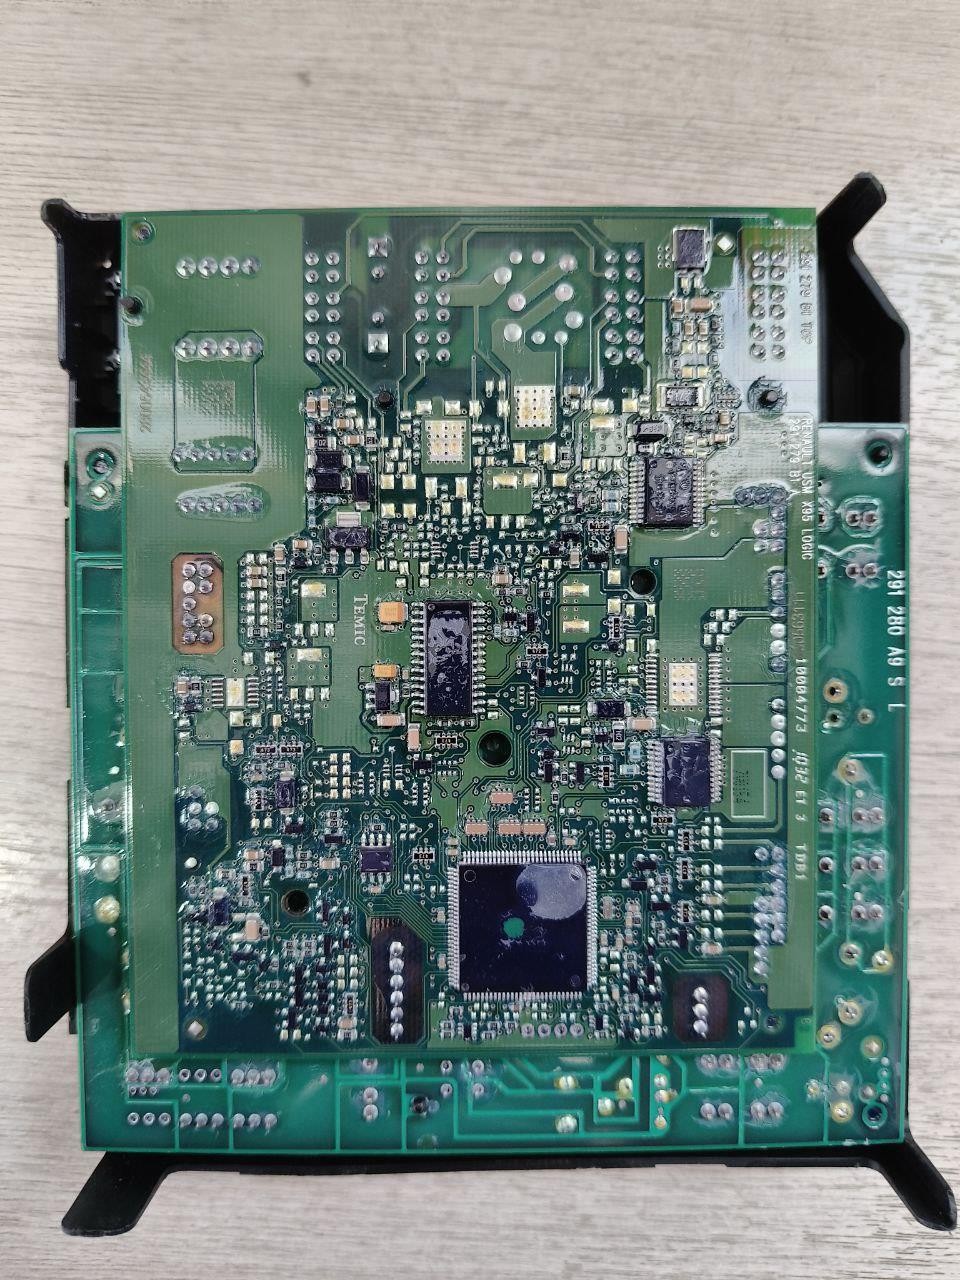
After this the block was disassembled. Inside it consists of two boards: a power board and a control board with a Motorola processor.
This design complicates the repair, but allows for more precise localization of the fault and an understanding of exactly which component has stopped performing its function.

The relay responsible for supplying power to the engine ECU is indicated in the photo.
When checking the control contacts, it was found that when power was applied, a positive voltage was present on both control terminals. This is an incorrect operating mode for this circuit.
The cause turned out to be a burnt protection diode, which is used to protect the relay coil from voltage spikes occurring when the voltage is switched off.

The photo shows the location where the protection diode was installed. The diode itself is no longer visible in the image, but it was located at the marked point and was the cause of the failure.
Also shown is the section of the circuit with the engine ECU fuse to which this fault relates.

Theoretically, it would have been possible to simply desolder the faulty diode, reassemble the block and return the vehicle to the customer — power to the ECU would indeed have been restored in that case.
But this would have been a temporary fix. The diode performs a protective function, and without it the relay would be left without protection against voltage spikes. How long the relay would last in such a mode cannot be predicted in advance.
Given that the relay is soldered into a multi-layer sandwich of boards, any subsequent replacement would be far more labor-intensive. For this reason, we did not consider that option.

Below is the diagram showing the diode installation on the relay control contacts.
Instead of a temporary fix, a new SMD Schottky diode was selected and installed, which fully restores circuit protection.

An SMD Schottky diode with suitable parameters for this circuit was used for the repair.
Such components are commercially available, so it is possible to restore the block without replacing the entire assembly.

After installing the new diode, the block came back online and engine starting was restored.
At this stage the fault had been eliminated, but the main question remained: why did this component burn out in the first place?
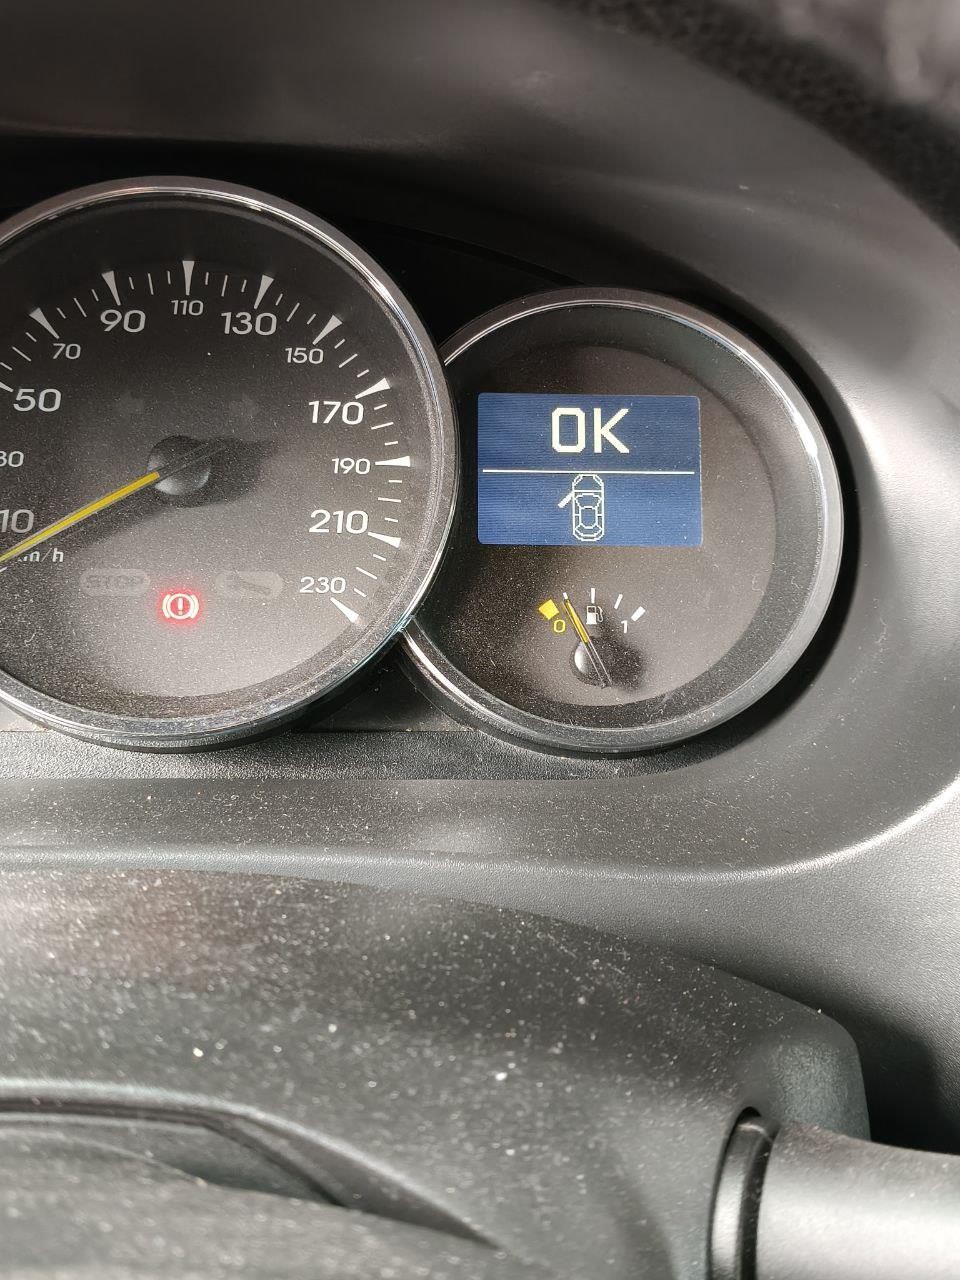
After restoring the power supply circuit, the engine control unit came back online and the vehicle started again in normal mode.
But eliminating the symptom is only half the job. It was important to find the root cause so that the situation would not repeat itself.

There can be several reasons for such a diode burning out, but in this case everything pointed to problems in the ignition system.
After inspecting the Miles ignition coils, it became clear that they were most likely the cause of the fault. This was further contributed to by a design feature of the engine: typically there is no proper protective cover, which allows moisture to accumulate on top.
Over time, moisture enters the spark plug wells through worn coil seals, leading to flashovers, short circuits and voltage spikes.
Since the coils are controlled by the engine ECU, a faulty coil can feed high voltage back to the control unit board, and then into the USM block, where the protection diode ultimately burns out.
In this case, the reason for the no-start condition turned out to be not the USM block itself, but a burnt protection diode in the engine ECU power relay circuit.
After replacing it, power to the ECU was restored, the block came online, and the engine started again. But to prevent the fault from recurring, it is important to address not only the symptom but also the root cause — in this case, the condition of the ignition coils and the moisture ingress problem.